Transform an old fat novel into a DIY Book Planter. Check out the step by step tutorial in this article.
Besides being a unique idea, this fairy book planter is easy and looks absolutely unique once completed!

Required Materials:
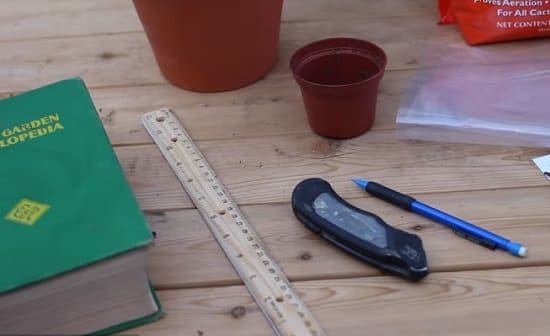
- Old Thick Book
- Ruler
- Paper Cutter
- Pencil
- Gravel
- Charcoal
- Plastic
- Soil
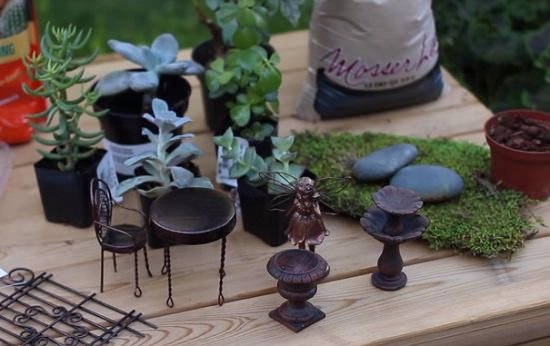
- Plants
- Ornaments (for decoration)
Steps To Follow:
1. Take A Book
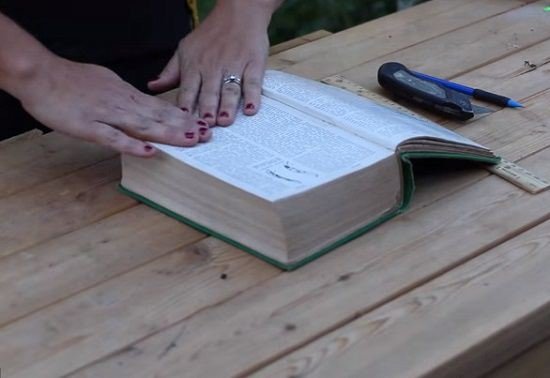
Take an old book, preferably thick as it will be good for a book planter.
2. Mark Outline
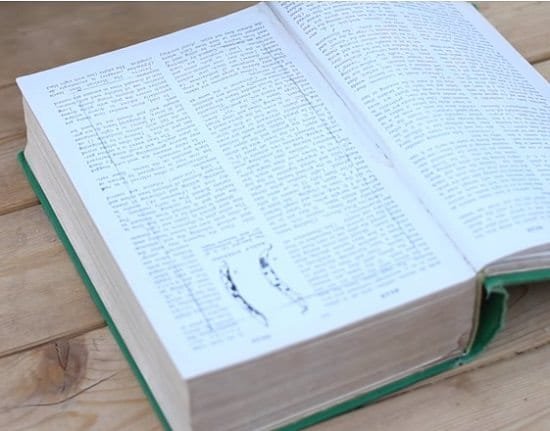
Using a pencil, mark the outlines of the size you want the planter to be. Here, she has marked 3/4th from the end and half an inch from the binding.
3. Cut the Outline
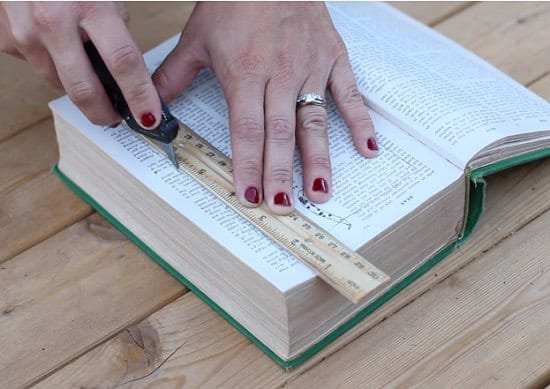
Now, using a sharp razor blade or paper cutter, cut the marked outline to the inside of the book.
4. Line the Plastic Sheet
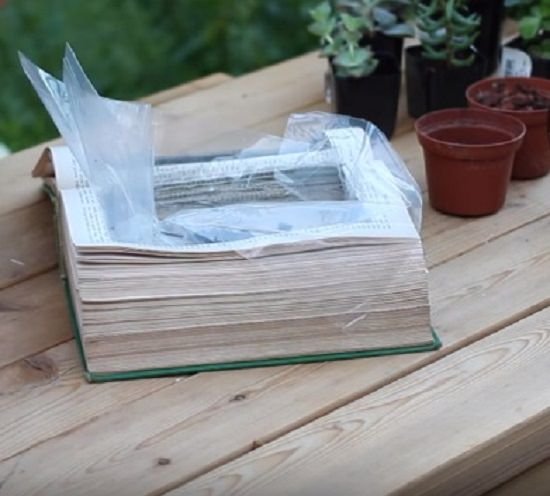
Pull back few of the pages and line a plastic sheet on the rest of the pages and push it down in the book.
5. Add Charcoal and Gravel
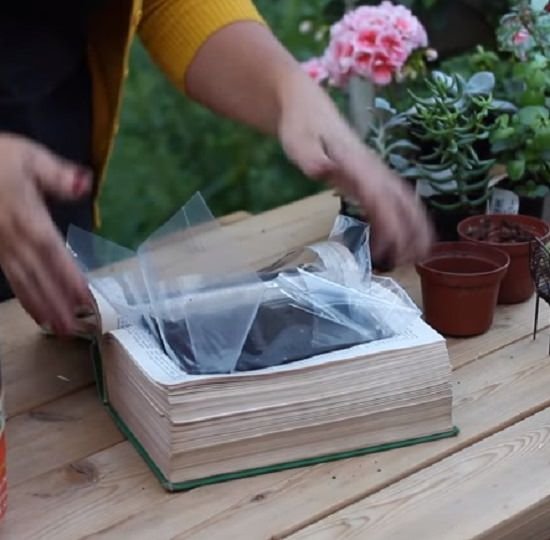
The next step is to add a small amount of charcoal and gravel. After adding these ingredients, add soil to the reservoir.
6. Plant the succulents
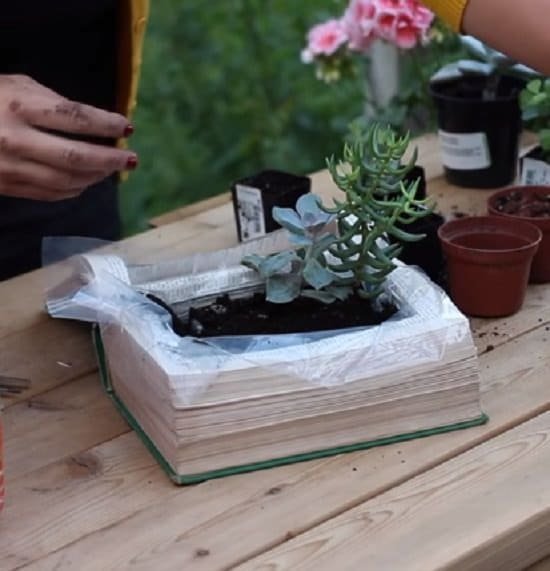
Plant the desired succulents into the soil. Be sure not to add many plants as it may look a bit fussy.
7. Add Ornaments
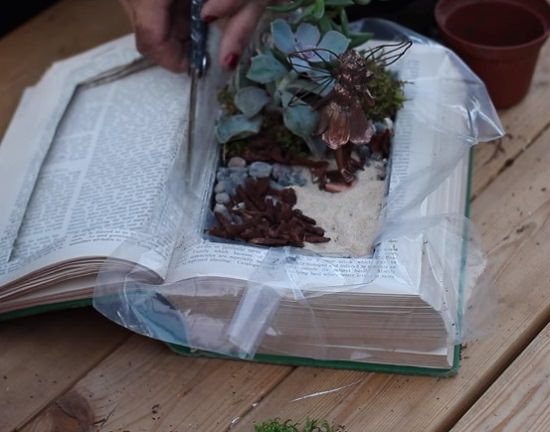
Further, add the final touch of completion by adding fairy ornaments, white sand, and some gravel to make it look like a fairy garden. Then cut the extra traces of the plastic to make it look tidy. Flip the pages which you pulled back at the time of lining the plastic back in their position to complete the project!